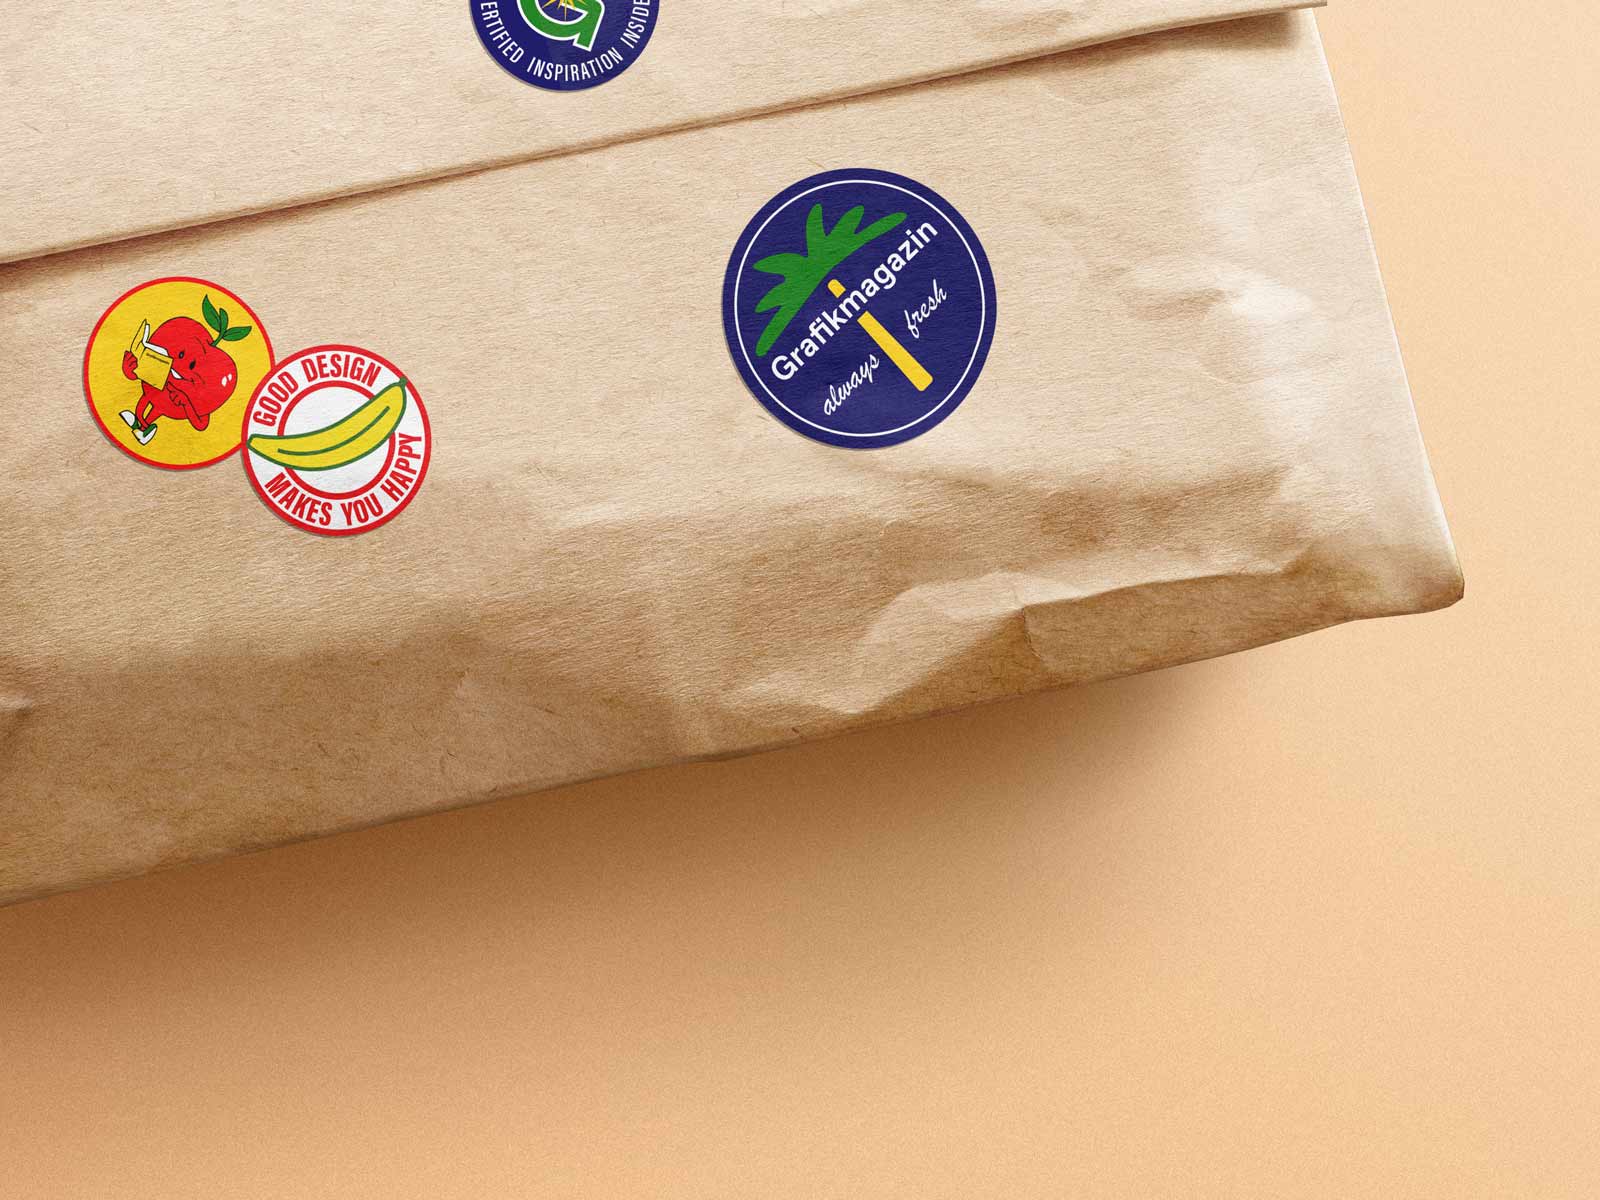
Here our Art Director Tobias Holzmann shows you how to create and order your own stickers in just a few steps. This tutorial is part of the ONLINEPRINTERS special offer. You can find all the information about the gift vouchers in this article.
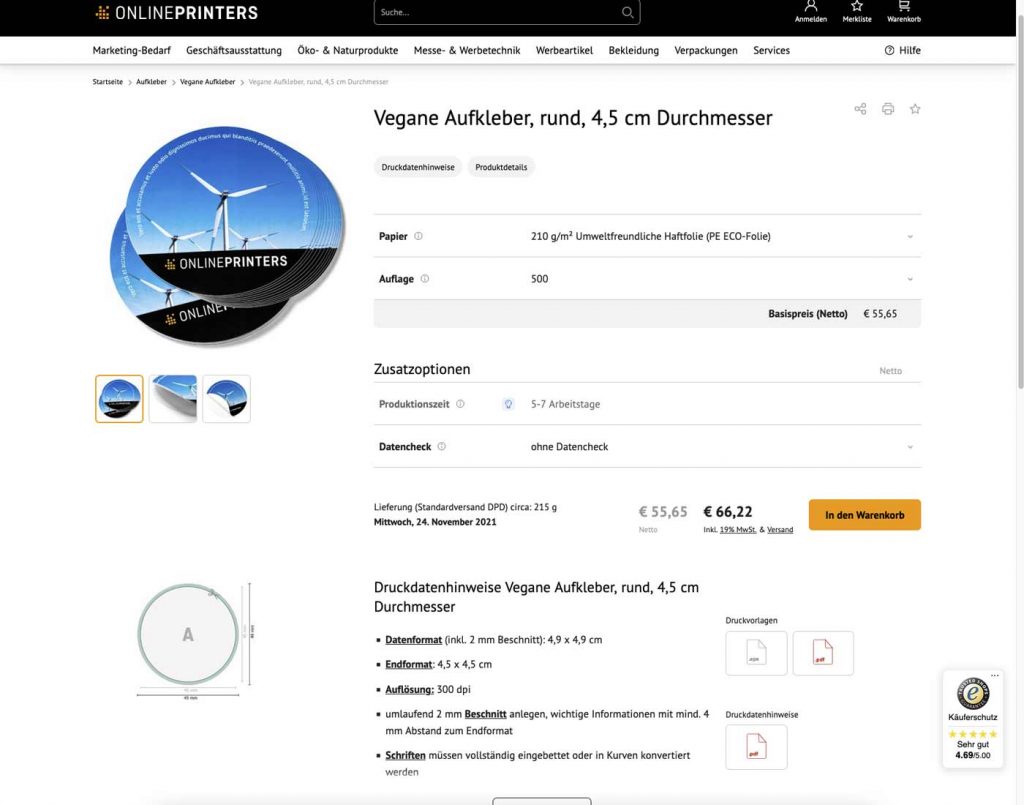
Step 1: Select product & paper
- Select desired product: Vegan stickers, round, 4,5cm diameter
- Select paper: A phthalate-free polyolefin film is used for the vegan stickers. The white, matt film is environmentally friendly and more biodegradable.
In contrast to conventional stickers, no animal-based components are used in the production process, as these increase the reflectivity of the white material.
The film has a special, weather-resistant and highly absorbent surface coating that is very easy to print on. - Select quantity, 250
Step 2: Create print data
Scroll further down, here you will find all the print data instructions. Important is the final format (4.5 x 4.5 cm) and the data format (4.9 x 4.9 cm). The data format is the final format plus 2 mm bleed on all sides. It is also important that the safety distance from important information to the edge is maintained (4 mm).
We will now create our document in Adobe InDesign with these dimensions. Fill in the following fields:
- Width and height of the document: 45 x 45 mm
- Pages: 1
- Double pages: make sure that no check mark is set here
- Margins: 4 mm on all sides (this is used to create guide lines that show us the 4 mm safety distance to the edge)
- Bleed: 2 mm on all sides (is the same as "trim")
Shortcut: You can also download the print template directly from the store and open it in InDesign.
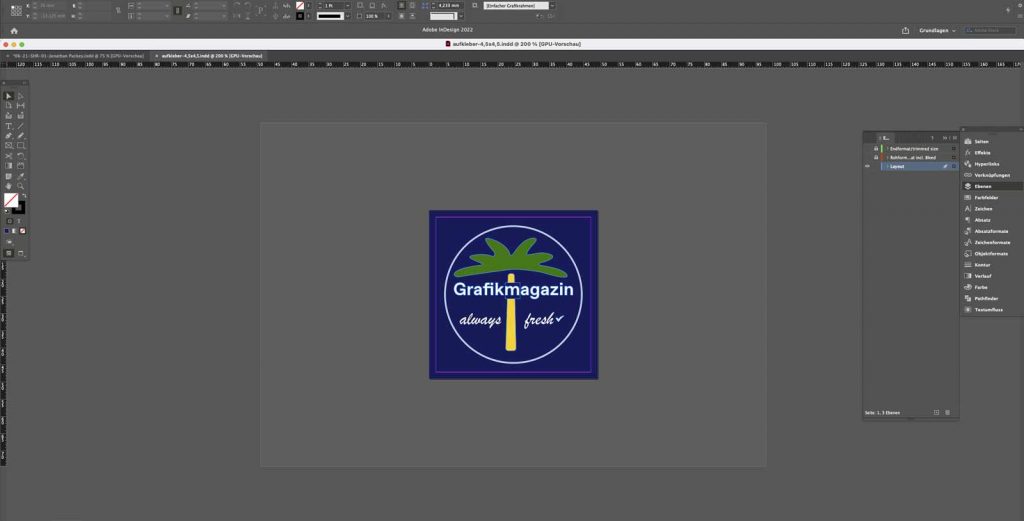
Step 3: Place the motif
We place our motif and adhere to the specified distances.
Step 4: Export & color mode
Next, we prepare our document for export. To do this, we take another look at the print data notes. The following points are important for us:
- Resolution at least 300dpi for original image size
Since we only use vectors and no image files, this point is obsolete.
- Convert fonts to curves
To convert the fonts used into curves, select all text fields. Then select the "Convert to paths" field in the Font menu. The text is now converted into vector paths or vector curves and can no longer be changed.
- Color mode: CMYK, FOGRA51 (PSO Coated v3) for coated papers, FOGRA52 (PSO Uncoated v3 FOGRA52) for uncoated papers
To choose the right color mode, we first need to obtain information about our paper. This is possible with the ONLINEPRINTERS material guide.
Here we search for our paper "Affichenpapier" and find the information page that you can see in the picture. The information "One-sided coated paper" is important for us. This means that the side to be printed on is coated and we can use the color profile "CMYK, FOGRA51 (PSO Coated v3)". If you have not installed the corresponding color profile, you can find instructions here. By the way, the maximum color application is 300%, more information here.
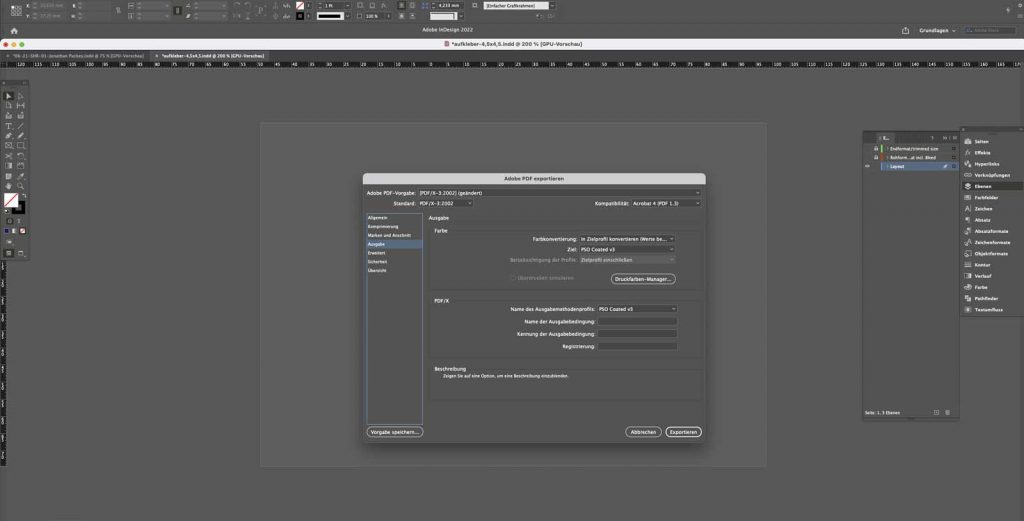
Now we export our file as a printable PDF. We select "PDF/X-4" as the PDF default, which is the PDF default that applies to all print products at ONLINEPRINTERS. The online print shop has put together its own tutorial for this.
In the "Output" sub-item, we select the "Convert to target profile (retain values)" option under "Color conversion". And for Target "PSO Coated v3". We then click on the "Export" button and receive our finished PDF.
Step 5: Purchase & use of the voucher
Now it's time to complete the purchase. A customer account must be created for an order, which stores general information on delivery and payment. If the project is in the shopping cart, you will see in the summary that the gift voucher from ONLINEPRINTERS and Grafikmagazin has been credited. Otherwise, this can be entered manually as a code in the voucher field provided. After clicking next, enter your address and payment information. The process also works if the order value is less than €30.
We also recommend that you select the "Climate-neutral production" option on this page. Here, selected projects are supported by "ClimatePartner".
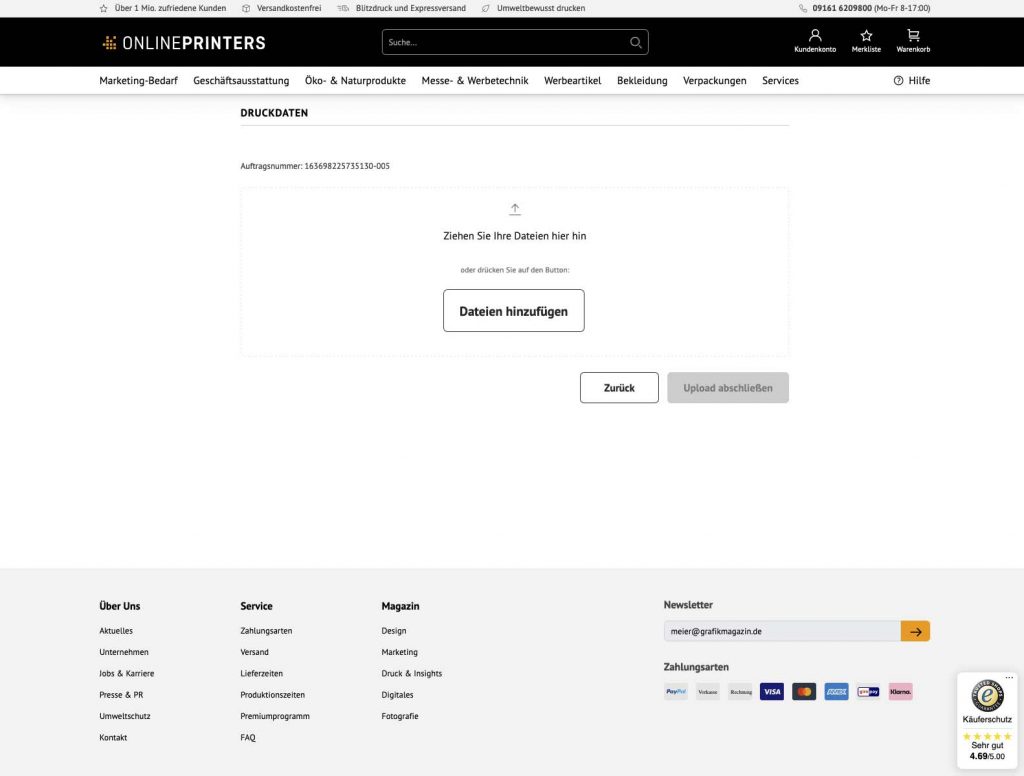
The next click will then take you to a summary. Once the purchase is complete, you can upload the print data: simply drag & drop the PDF into the upload, specify the "Content of the file" in the dropdown and select "Complete upload".
